Quickstart guide for classic themes
Learn the basics of using Twentig with Twenty Twenty-One and Twenty Twenty.
Table of contents
Install Twentig
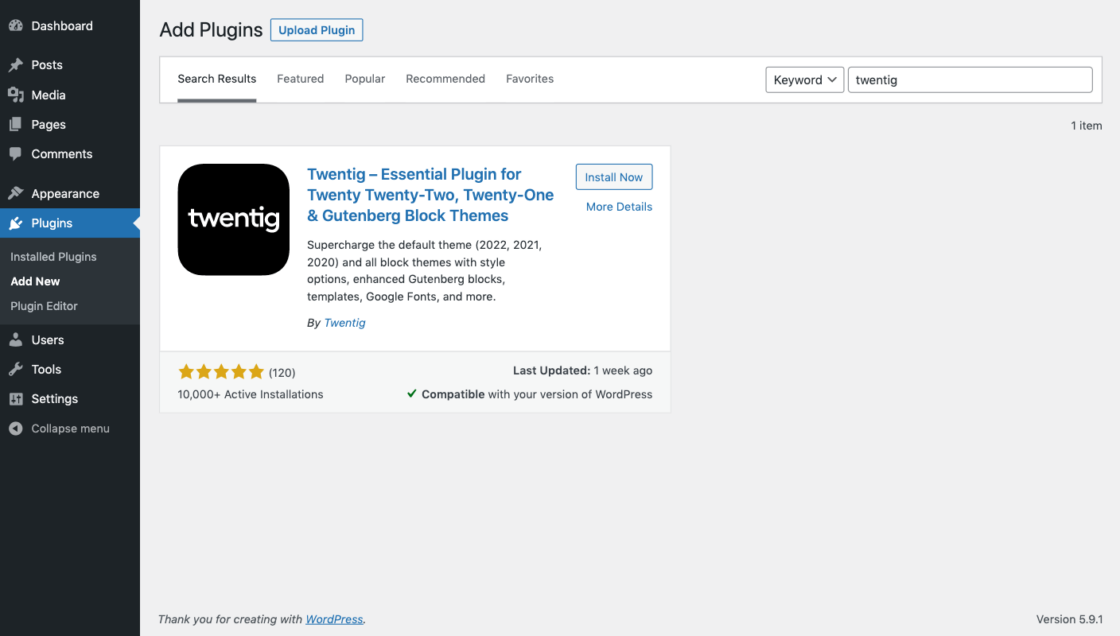
To install the Twentig plugin, follow these steps:
- Log in to your WordPress Dashboard.
- Click Plugins > Add New.
- Type Twentig in the search box.
Alternatively, you can click Upload Plugin to upload the plugin .zip file. - Click Install Now.
- Once the installation is done, click Activate.
Customize the Twenty Twenty-One and Twenty Twenty themes
Twentig helps you customize the Twenty Twenty-One and Twenty Twenty themes the way you want.
To control the look of your site, launch the Customizer from your WordPress Dashboard by clicking Appearance > Customize. From here, you can easily make and preview changes to your website before publishing them.
How to customize the Twenty Twenty-One theme
From site logo to custom colors to menu settings, Twenty Twenty-One has built-in Customizer options. Learn more about Twenty Twenty-One.
To personalize your site even more, Twentig adds extra options to the Customizer. You can find these options in the Site Identity, Colors, and Twentig Options panels. From post grid to sticky header to footer layout, Twentig provides endless ways to enhance your theme. Change the look and feel of your site by customizing the fonts, colors, global styles, 404 page, and more.
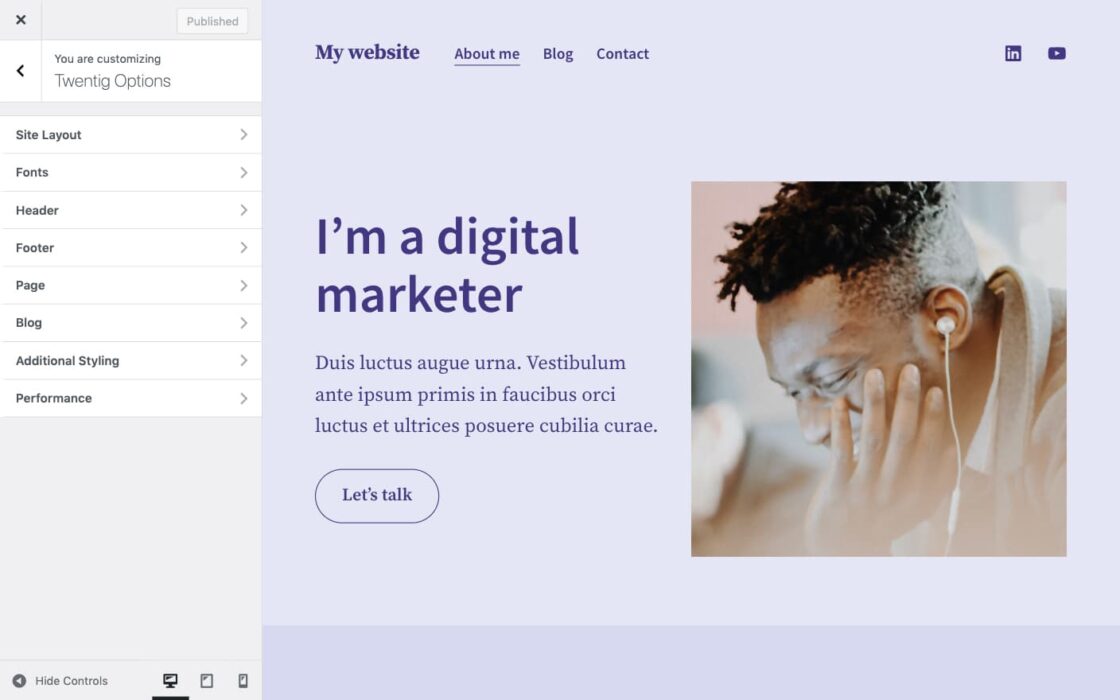
Click around and explore, you won’t break anything. Then click Publish to make the changes live on your site.
How to customize the Twenty Twenty theme
From site logo to custom colors to cover template settings, Twenty Twenty has built-in Customizer options. Learn more about Twenty Twenty.
Twentig adds extra options to the Customizer. You can find these options in the Site Identity, Colors, Cover Template, and Twentig Options panels.
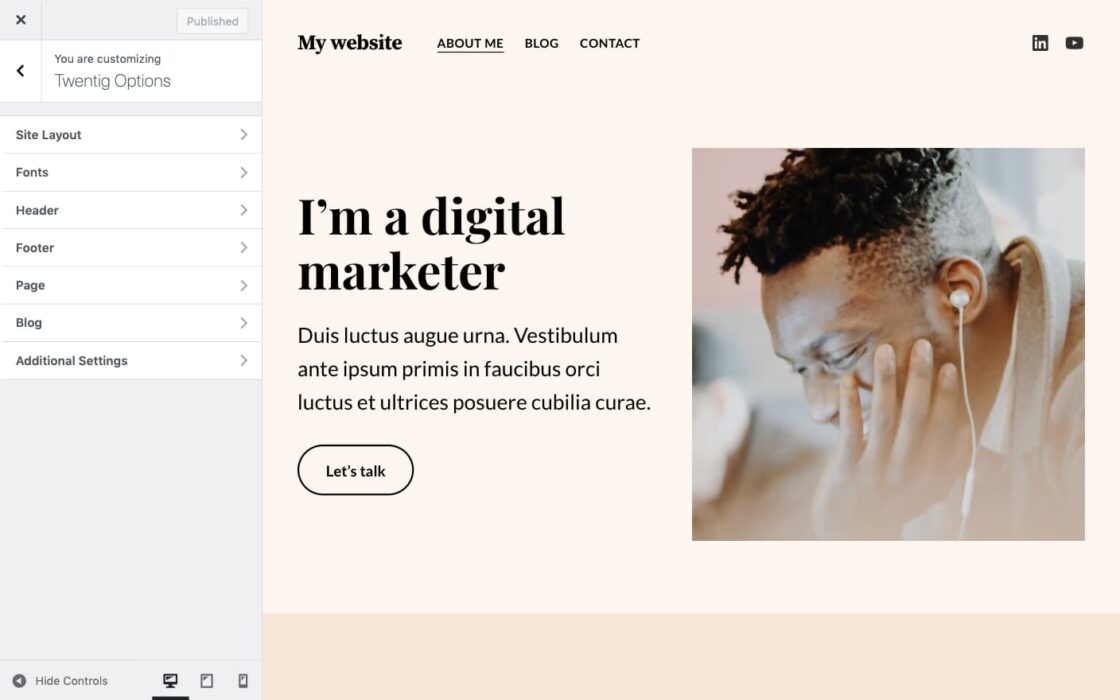
Experiment with these options and customize the theme to make it your own. Then, once you’re happy with the way your site looks, don’t forget to click Publish.
Start with a pre-built website
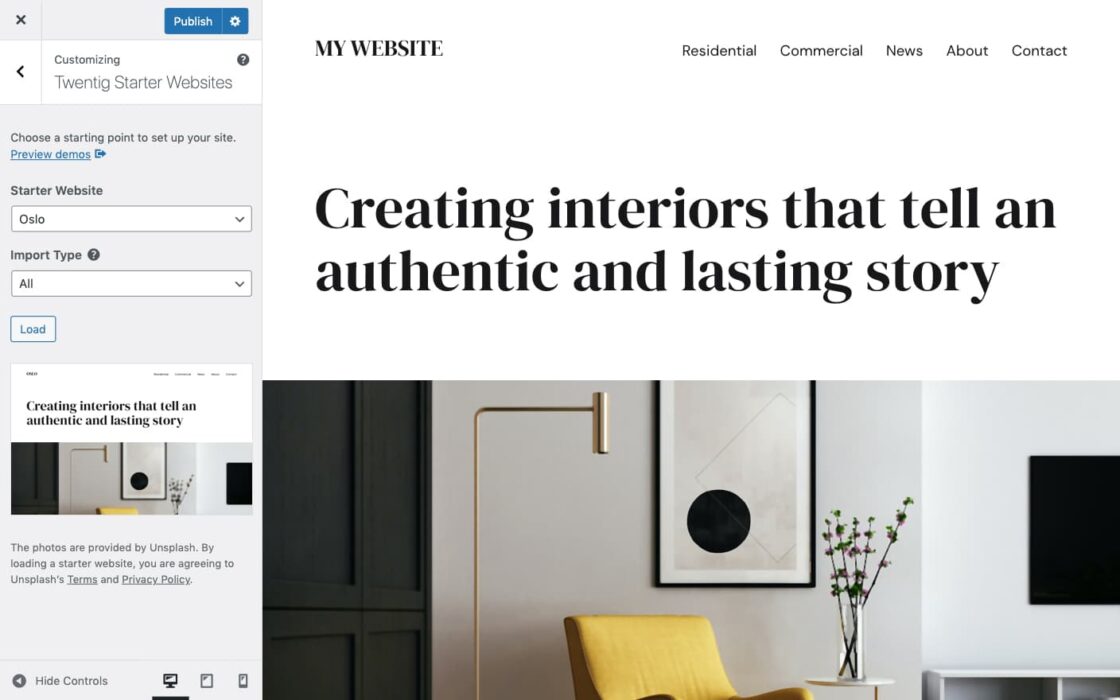
Instead of starting from scratch, you can quickly import a starter website. Choose one from a variety of starter websites and seamlessly load it in the Customizer.
To import a starter website, follow these steps:
- Inside the Customizer, open the Twentig Starters Websites panel.
- Select the site that you want to import in the Starter Website dropdown. You can preview the live demos to help you choose.
- Select the Import Type (your existing posts and pages are always preserved):
- All: import the Customizer styles, pages, posts, menus, and widgets.
The starter website is fully replicated. Your current Customizer settings, menus, and widgets are replaced. - Content: import the pages, posts, menus, and widgets.
Your current Customizer settings are preserved. Your current menus and widgets are replaced. - Pages: import only the pages.
Your current Customizer settings, menus, and widgets are preserved. - Customizer Styles: import only the Customizer styles.
Your current Customizer settings are replaced. No content (pages, menus, widgets) is imported to your site.
- All: import the Customizer styles, pages, posts, menus, and widgets.
- Click Load. Wait a few seconds until the Customizer reloads and displays the starter website.
- Click Publish at the top of the screen to publish the changes.
Note: After you load a starter website, you can customize it before publishing it. No changes appear on your live site until you click Publish.
Build your site with blocks
Twentig supercharges the block editor with additional block settings, styles, CSS classes, and pre-designed patterns — making it easier to create your own professional website.
Getting started with blocks
New to the WordPress block editor? In the WordPress.org articles listed below, you’ll learn the basics of using the block editor.
Enhance the core blocks
Twentig enhances the existing WordPress blocks by providing additional styles, block settings, margin controls, responsive visibility controls, and CSS classes. They appear in the block settings sidebar when a block is selected. Click ![]() to open the settings sidebar.
to open the settings sidebar.
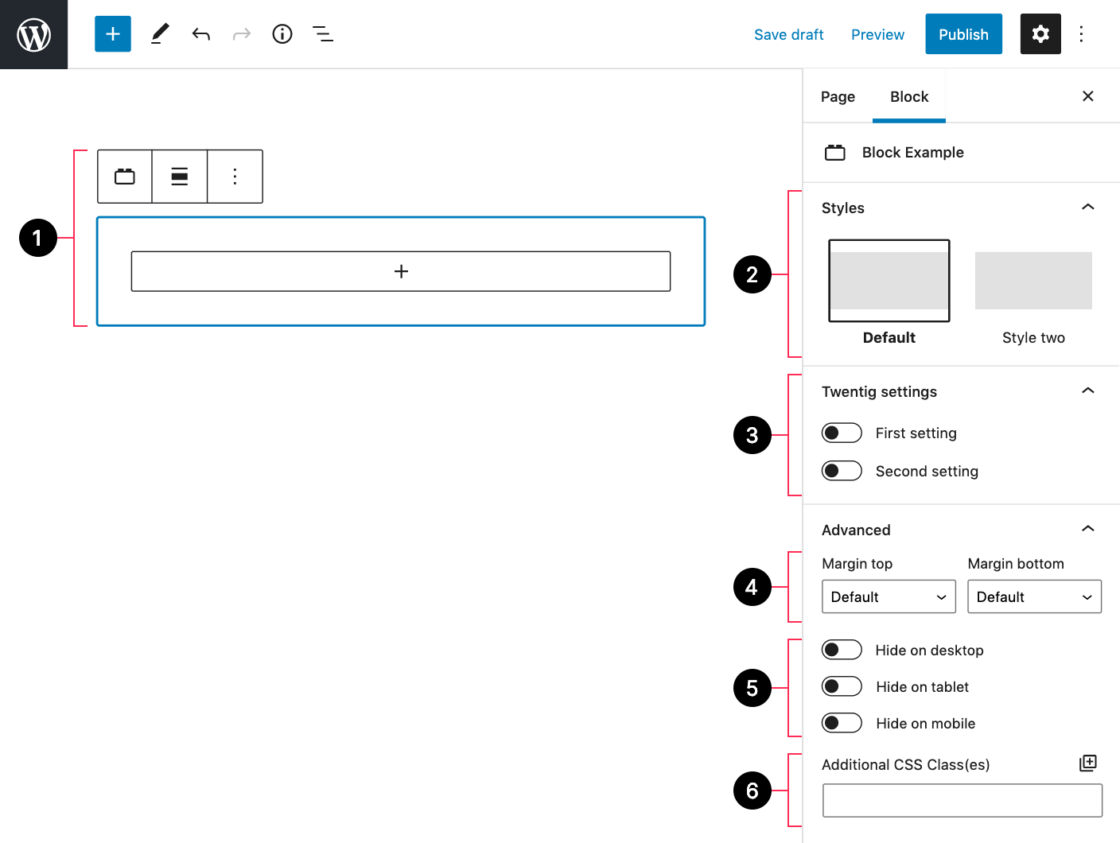
- Selected block
- Styles
- Twentig settings
- Margin
- Responsive visibility
- Additional CSS Classes
Use additional block settings and styles
Twentig provides additional settings, styles, and CSS classes for the following blocks:
- Group: shadow, shape separator
- Columns: gutter, responsive layout, columns style (card, border), stretched link
- Media & Text: styles (shadow, overlap), responsive layout, reverse stack order, stretched link, full height
- Cover: styles (shadow, inner border), stretched link, hover effect, shapes
- Heading: typography options, decoration, responsive alignment
- Paragraph: wide width, typography options, decoration, responsive alignment
- List: styles (dash, checkmark, arrow, border, no bullet, inline), spacing
- Image: styles (rounded corner, shadow, frame, border), shapes
- Gallery: stack variation, styles (rounded corners), fixed width columns, image aspect ratio, gutter, responsive layout
- YouTube, Vimeo, SoundCloud, and Video blocks: style (frame)
- Latest Posts: styles (card, border), image aspect ratio, heading size, stretched link
- Social Icons: styles (square, rounded), hover effect
- Quote: styles (icon)
- Pullquote: styles (icon)
- Table: styles (border, inner border), vertical alignment
- Navigation: block spacing, responsive breakpoint, menu icon size, hover and active styles
- Post Featured Image: styles (rounded, shadow, frame)
- Post Author: inline layout, avatar shape
- Post Categories and Post Tags: underline style
- Post Title: underline style
Edit the margins of the blocks
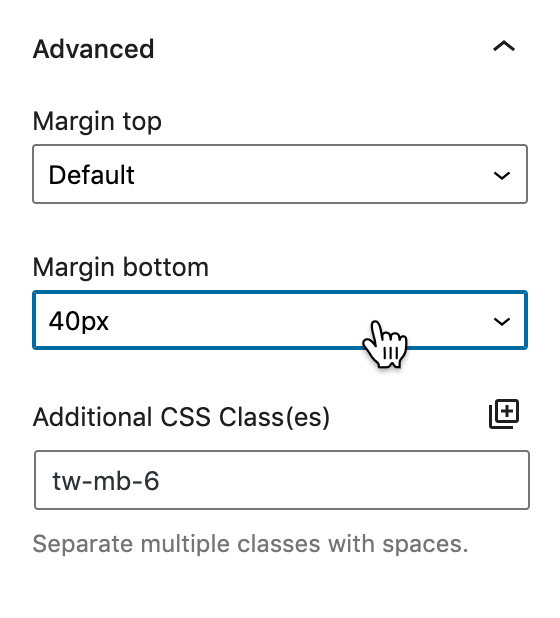
Inside the Margin panel, Twentig adds Margin Top and Margin Bottom settings for each block (with a few exceptions) to let you adjust the vertical spacing.
When you select a margin value, its respective CSS class is automatically added to the Additional CSS Class(es) field.
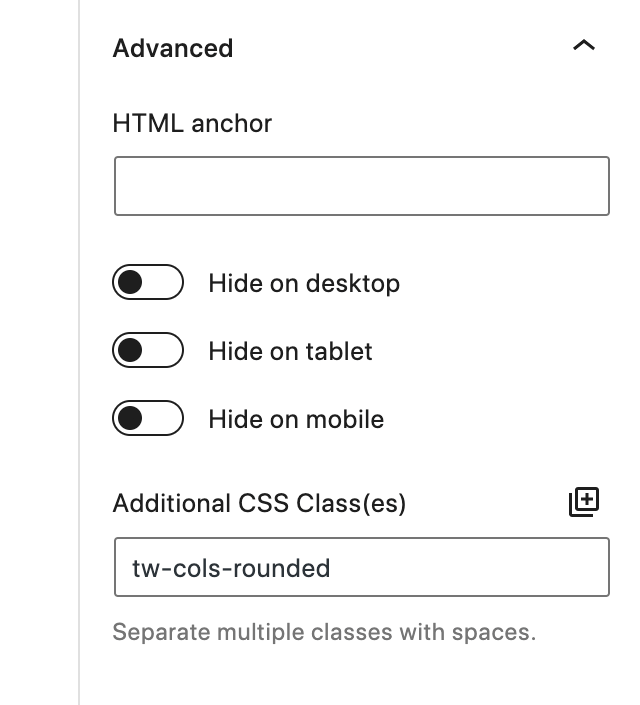
Control the visibility of the blocks
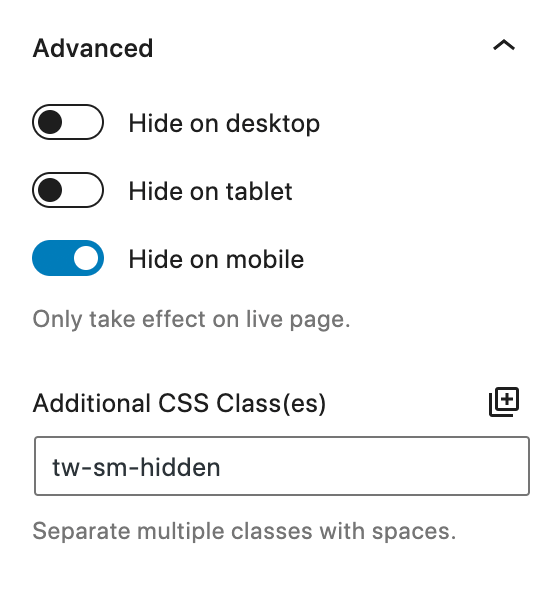
Inside the Visibility panel, Twentig lets you control the block’s visibility based on the viewport size. When you enable a visibility option (Hide on Desktop, Hide on Tablet, or Hide on Mobile), the block will be hidden on this device.
You can see that the respective class is automatically added to the Additional CSS Class(es) field.
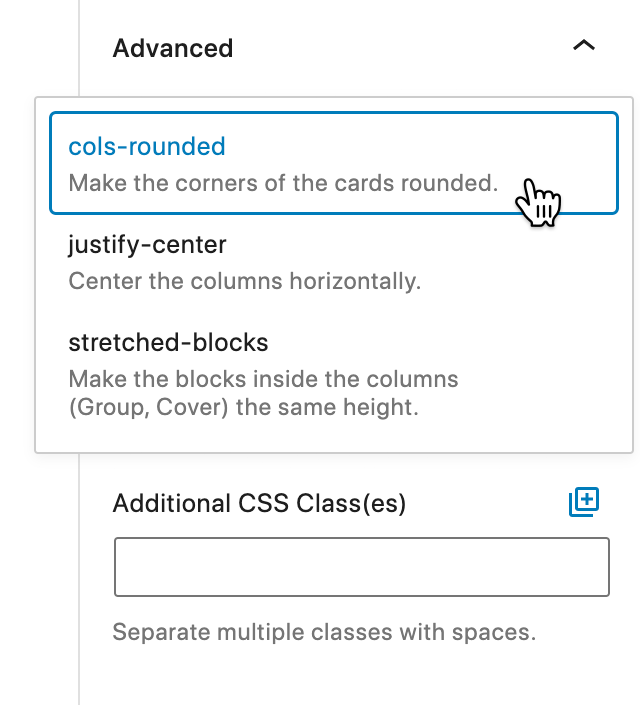
Add CSS Classes
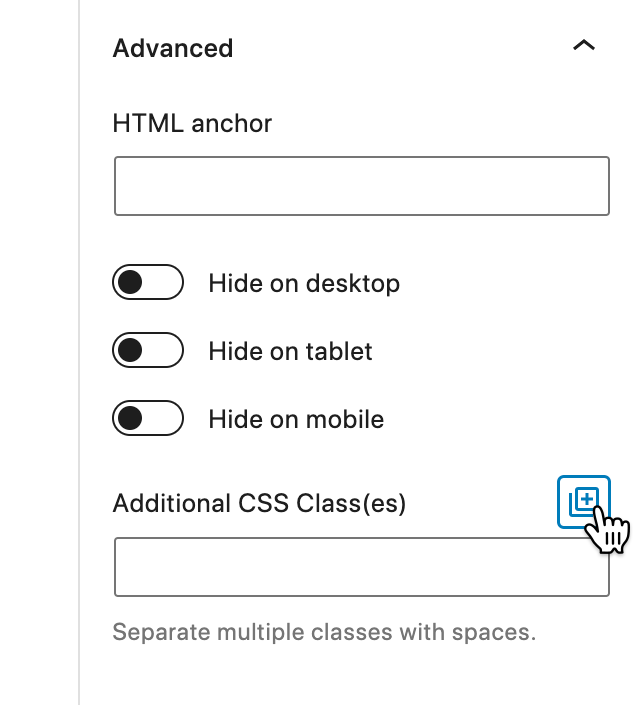
Inside the Advanced panel, you can add CSS classes to your block. To fine-tune your blocks, Twentig provides a list of predefined CSS classes for several blocks (indicated by the ![]() icon).
icon).
To add predefined CSS classes, follow these steps:
- Inside the Advanced panel, click
 to open the Twentig CSS Library.
 - Select the class(es) you want to apply to the block.
- Click to close the library. You can see that the classes are automatically added to the Additional CSS Class(es) field.
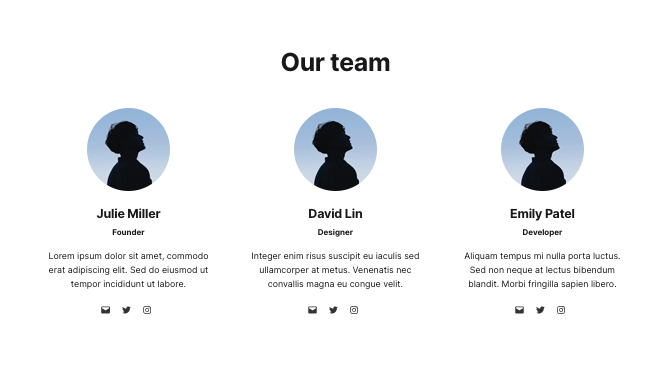
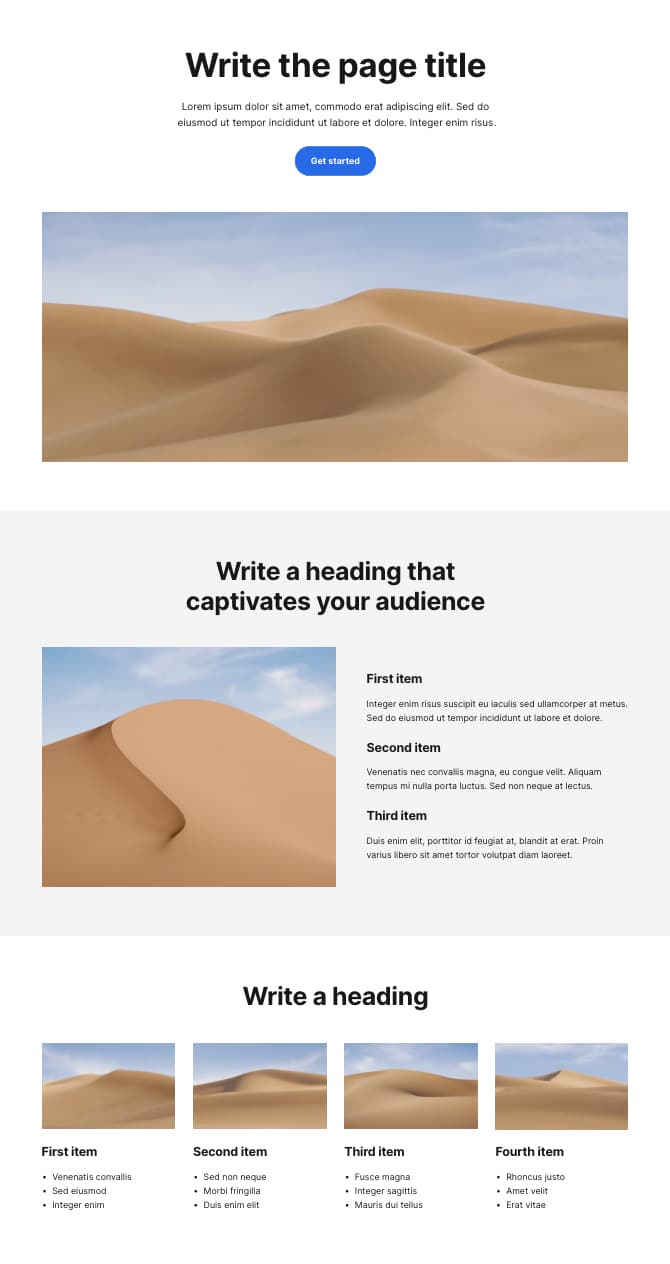
Build your pages with pre-designed patterns
Twentig brings hundreds of ready-to-use pre-designed patterns, making it easy to create stunning pages. There are 2 types of pre-designed patterns:
- Block pattern: a predefined arrangement of blocks that can be used standalone or combined with other block patterns to create a page.
- Page pattern: an entire pre-designed page (that you can find under the Pages category).
You can customize, mix and match the layouts to fit your needs. Or use them as is.
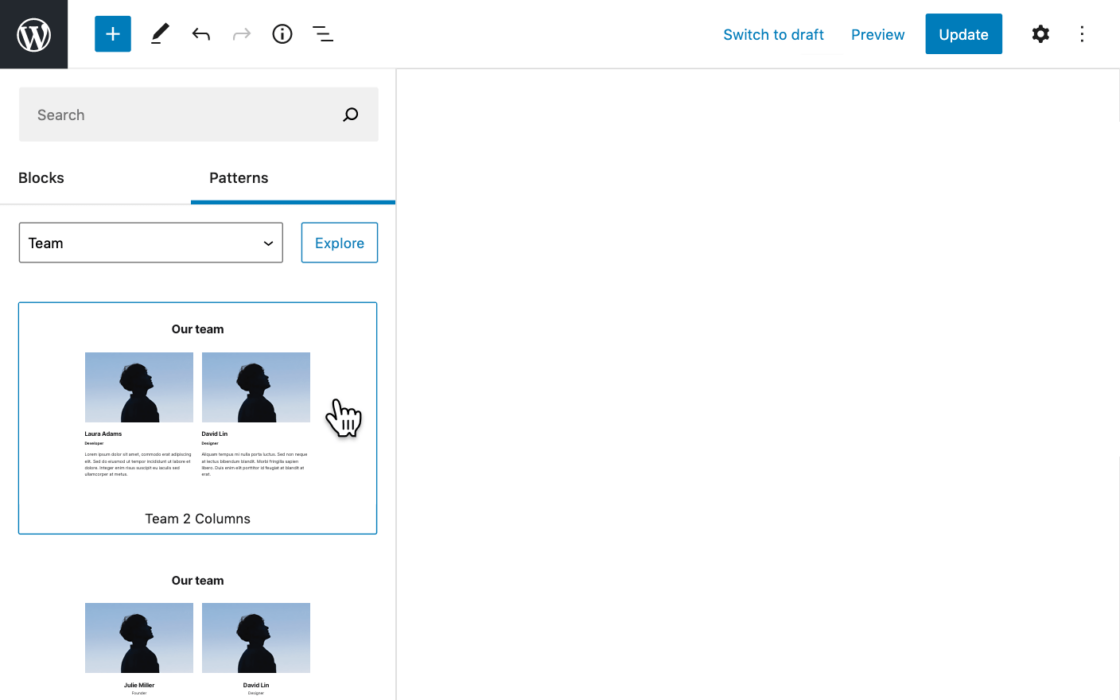
How to insert a block pattern
To insert a block pattern, follow these steps:
- Inside the block editor, place your cursor where you want to insert the block pattern.
- Click
 to open the block inserter.
 - Click the Patterns tab.
- Browse the categories and click the block pattern you want to insert (you can also drag and drop the pattern into your content).
- Once inserted, you can edit the block pattern with your own content, customize, or rearrange the blocks.
Note: WordPress includes its block patterns. If you wish to disable them, navigate to Twentig > Settings in your WordPress dashboard and uncheck the Core Block Patterns box.
Change the page template
To let you control the look of your entire page, Twentig provides 4 custom page templates:
- Twentig – No title
This template removes the page title. Now you can start your page with any block or block pattern (e.g., pattern from the Hero category). - Twentig – No header, no footer
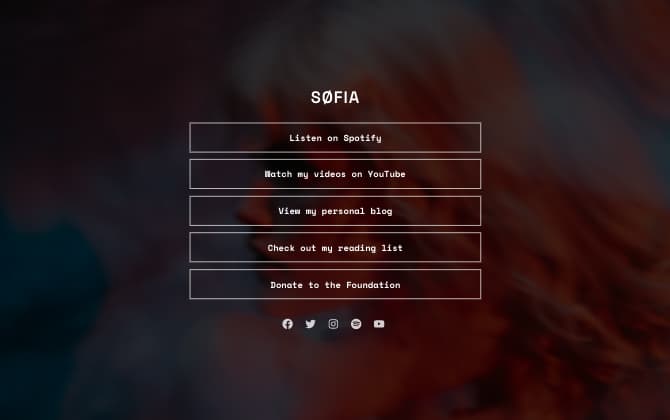
This template removes the page title, header, and footer. Now you can create a landing page, a coming soon page, and a one-page website. - Twentig – Transparent header
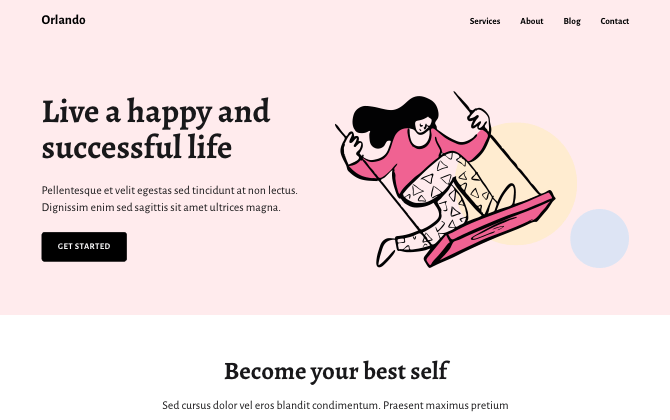
This template removes the page title and makes the header’s background transparent. You can use this template to start your page with a full-width colored Group. - Twentig – Transparent header light
This template removes the page title and makes the header’s background transparent and the header’s text color white. You can use this template to start your page with a full-width Cover.


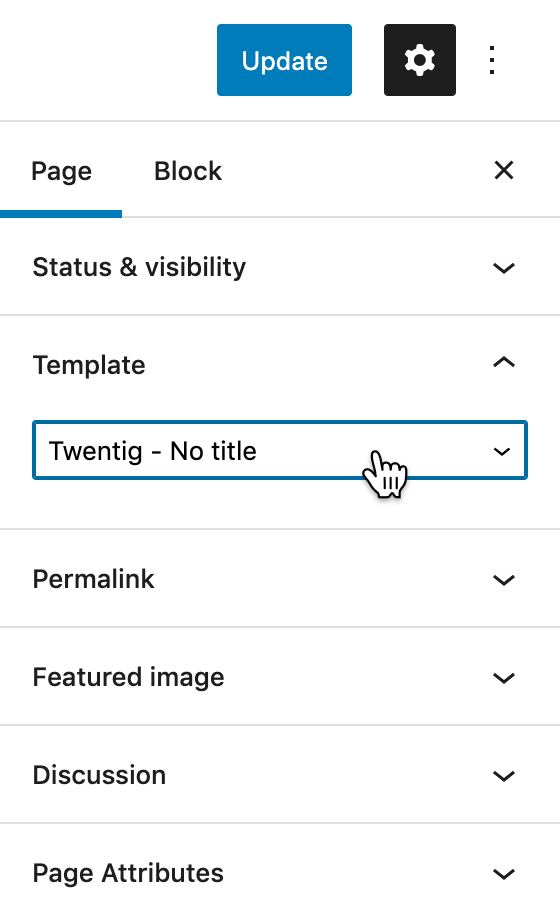
To change the template of a page, follow these steps:
- Inside the block editor, click
 to open the settings sidebar.
 - Click the Page tab.
- Inside the Summary panel, select the desired template.
- Click Update to apply the change.
Congratulations! Now you can enjoy true creative freedom.

Congratulations
You’re ready to use Twentig like a pro! Subscribe to our newsletter to receive exclusive content, tips and updates.